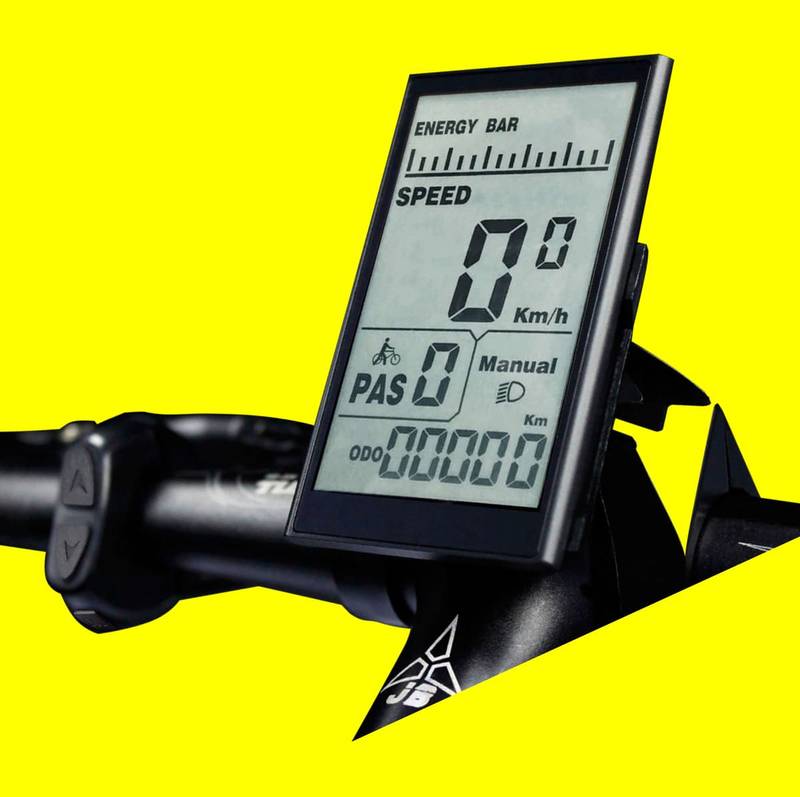
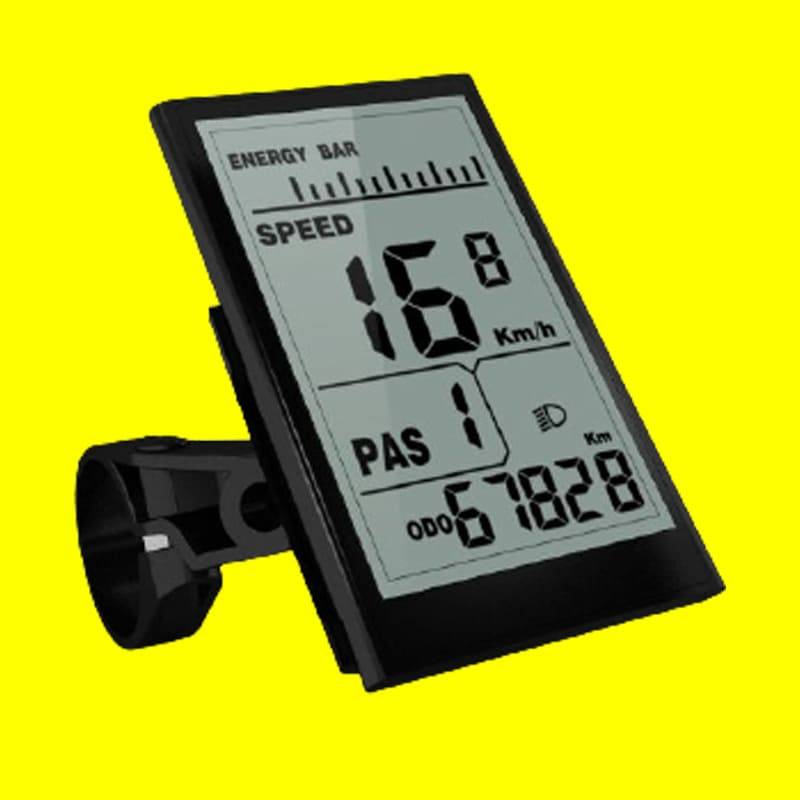
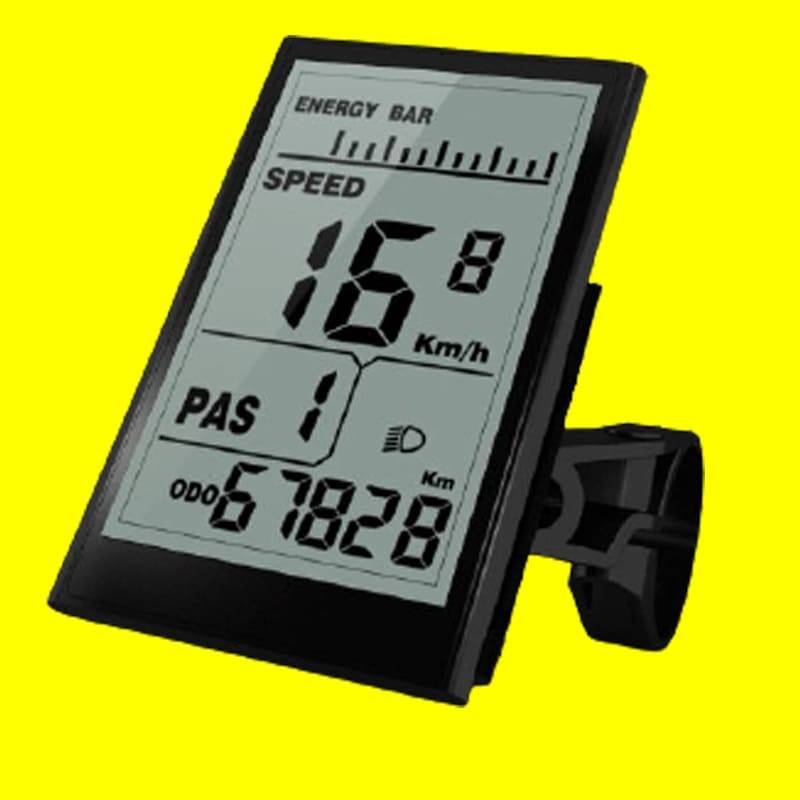
NOKEE-U LCD Display
Cutting-edge 6mm thickness. Frosted aluminum alloy housing and toughened glass screen, special lamination process realizes Nokee’s ultra-thin design(patented technology). It offers the perfect combination of elegance, quality, and technology.
Additional information
| Size | 97mm * 60mm * 86.5mm |
|---|---|
| Function | Battery, Headlight, Mile/KM, ODO, PAS Level, Speed, Trip, Trip Time, Walk Assistance |
| Communication | CAN BUS, LIN, UART |
| Holder | 22.2mm, 25.4mm, 31.8mm |
| Voltage | 24V, 36V, 48V |
| USB Charging | With 5V/1A |
| Certificate | CE, EN15194:2017, IPX6, RoHS |
| Bluetooth | Customizable |
User Manual_NOKEE-U eBike LCD Display
1 Preface
Dear users,
Please read through the instructions of the NOKEE meter carefully before using it to ensure the better performance of your e-bike. We will use the most concise words to show you all the detailed steps for using it, including the steps from installation and setting of hardware through normal use of the instrument. The instructions will also help you eliminate the confusion and malfunctions that you may encounter.
2. Appearance and dimensions
2.1 Main Materials and Color
NOKEE is mainly made of aluminum alloy and toughened glass. The shell of the display is made of black matte material, which can be normally used in temperatures ranging from -40°C to 80°C, with good mechanical properties.
The dimensions of NOKEE are shown below. (unit: mm)
2.2 Materials and Colors of Buttons
The main body of buttons is made of PC material while the keys on them are made of soft silica gel, appearing black in general. There are three keys, named “Mode”, “Up”, and “Down”.
N3-button unit
The N3-button unit is connected to the bottom of the SW-H display via a waterproof cable.
3. Precautions for Use
- Take care when using the display and do not connect/disconnect it with power on.
- Avoid striking or knocking the display.
- Do not remove the waterproof film attached to the display as this may impair its waterproofing.
- In the case of errors or malfunctions, the display should be returned to your local supplier for repairs/replacements.
4. Overview of Functions and Indications
4.1 Overview of functions
NOKEE provides you with a number of functions and indications to satisfy your demands for riding. The indications on NOKEE include:
- Battery indications;
- Speed indication (including real-time speed, maximum speed, and average speed);
- Miles indication (including indicators for single-trip miles and total miles);
- Indication of push cruise;
- A number of settable parameters, such as wheel diameter, speed limit, setting of battery, a number of PAS levels, switching headlight, automatic shutdown, as well as burning of the external program through dis-pro.
Note: The above functions are only existing functions of the product, which are subject to expansion according to customer’s demands, such as settings of boosting parameters, power-on password setting, and controller current limit setting.
4.2 Indications
5. Installation Instructions
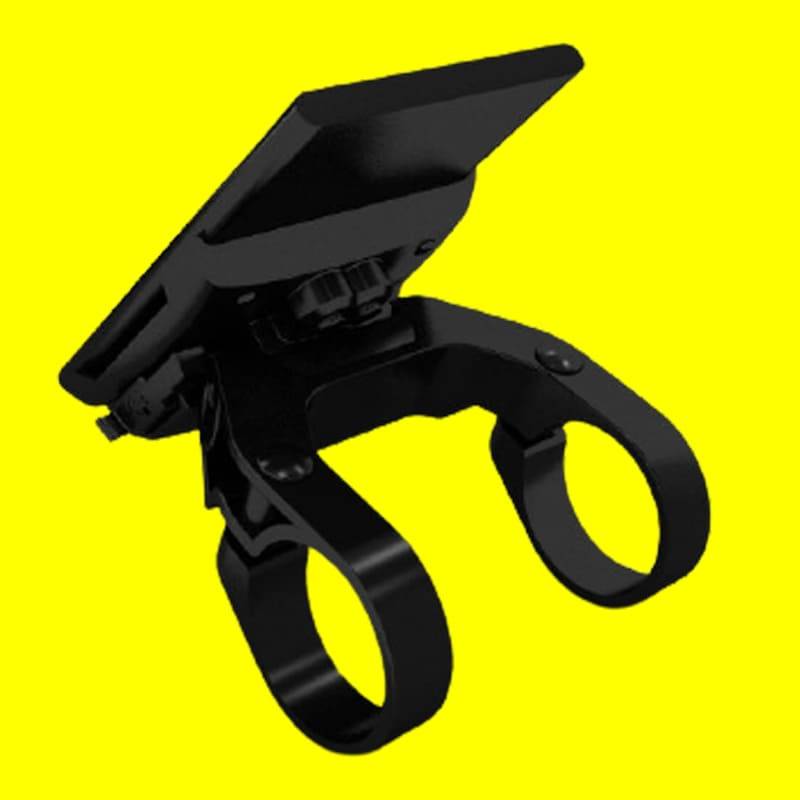
Open the gripper to clip the meter onto the handlebar. Adjust it until the appropriate angle of view is obtained, then tightly screw the gripper to a proper torque, which is advised to be 1.5N.M.
5.1 Installing onto handbar
6. Normal Operations
Press the key “MODE” for several seconds to initiate the meter and supply power to the controller. Press the key “Mode” for several seconds while power is on to cut off the power of the e-bike. While power is off, the meter will no longer consume the power from the battery and the leakage current is less than 1uA.
Note: The meter will automatically shut down if the e-bike is suspended for over 10 minutes.
6.2 Displaying Running Speed
Press the key “MODE” briefly to enter the speed display interface, and briefly press the key “Mode” again to respectively display SPEED (real-time speed), AVG (average speed), and MAX
(maximum speed), as shown in the figure:
6.3 Setting Push Cruise
While the power of the meter is on, press “DOWN” for 3 seconds to enable push cruise for the e-bike, as shown in the right figure. The e-bike will run at a constant speed of 6km/h. “Walk 1” is displayed on the screen.
Note: Push cruise is only for pushing the e-bike; do not use the function when you are riding the bike.
6.4 Switching Headlight
Long press “UP” to display the symbol light, as shown in the right figure, which indicates the headlight is on.
Long press “UP” again to switch off the headlight.
Note: If the e-bike has no headlight function, the symbol headlight will not be displayed.
6.5 Battery Indication
When the battery has sufficient voltage, all five lines will be displayed on LCD. When only one line is displayed, it indicates low battery, requiring prompt recharging.
Note: The battery symbol as shown in the right figure indicates low battery and requires prompt recharging!
6.6 Indication of Miles
Press the key “MODE” briefly to switch among indications of mile information in the following order: TRIP A (single trip miles A) → TRIP B (single trip miles B) →ODO (accumulated miles) → RMAIN (remaining miles) →TRIP A (single trip miles A). The schematic view is shown below:
6.7 Error Code Display
Malfunctions in the electrical control system of the e-bike will trigger the automatic display of ERROR on the meter with corresponding error codes. See Attached Table 1 for definitions of detailed error codes.
Note 1: Only after troubleshooting will the error code exit. It is not possible to run a defective e-bike.
Note 2: Here is a more general error code for different e-system for your reference.
7. Instrument Settings
7.1 Settings before Riding
After powering on, the instrument displays real-time speed by default. Press “UP” and “DOWN” for 3 seconds, to enter the setting state of the unit/speed limit/wheel diameter.
Briefly press “MODE” to switch display information in the following order, st¹ switch between metric and imperial system (Km/h-Mp/h)→st² speed limit setting (unit: Km/h—Mp/h)→st³ wheel diameter setting (unit: inch)→st¹ switch between metric and imperial system (Km/h-Mp/h).
7.2 Setting of Metric/Imperial System
In the setting state, ST¹ stands for metric system selection. Briefly press “UP” or “DOWN” to switch between metric (Km) and imperial unit (Mp). Briefly press “MODE”, to confirm the setting and enter the ST² setting interface.
7.3 Maximum Speed Limit Setting
Briefly press “UP” or “DOWN” to set the maximum limit speed, which is from 20 Km/h to 40 km/h. Briefly press “MODE” to confirm and enter the wheel diameter setting interface. The maximum limit speed of the factory setting is 25 km/h.
Note: Maximum limit speed is subject to customization depending on demands.
7.4 Wheel Diameter Setting
Briefly press “UP” and “DOWN” to select the corresponding wheel diameter, to guarantee the accuracy of the speed display and mile display on the meter. It can be set to be 16, 18, 20, 22, 24, 26, 28, and 700C. The factory default setting of wheel diameter is 28 inches. Briefly press “MODE” to confirm and enter the running speed display.
7.5 Exit Settings
Under the setting state, briefly press “MODE”(no longer than 2 seconds) to confirm and save the current setting. Press “MODE” and hold it (at least for 2 seconds) to confirm and save the current setting, and exit the current setting. Press “DOWN” and hold it (at least for 2 seconds) to cancel the current operation and exit without saving the current settings.
Note: Setting interface will exit automatically if the meter is suspended without any operation for 1min.
8. FAQ
Q: Why can’t I turn on the display?
A: Please check if the display cable is well connected to the controller.
Q: How do I deal with the error codes?
A: Contact your local e-bike dealer for maintenance.
9. Barcode
In the number 513NOKEE36L0376S4001 below the instrument barcode, 513 refers to the customer code, NOKEE is the product name, 36L is the voltage of the product battery, 0376 the drawing No., and S4001 the software version No.
10. Warranty and Coverage
1. Any fault with the product as a direct result of the quality will be replaced.
2. Warranty period: 24 months from the delivery time of the display from the factory.
The following circumstances are not covered by the Warranty.
- Opened case
- Damaged connector
- Scratched or damaged case after delivery
- Scratched or damaged cables
- Malfunctions or damage caused by force majeure or natural disasters
- outside the warranty period
11. Wire sequences
| Item | Wire color | Definition |
| 1 | Red(VCC) | Power+ |
| 2 | Blue(Key) | Power of controller |
| 3 | Black(GND) | GND |
| 4 | Green(RX) | Receiving data |
| 5 | Yellow(TX) | Transmitting data |
Wire sequence of standard connectors
Note: Display may use a waterproof connector; in this case, the wires cannot be seen.
12. Version
This manual has been based on general-purpose software (version V1.0). Some versions of the LCD may appear and behave slightly differently depending on the hardware and software versions.


